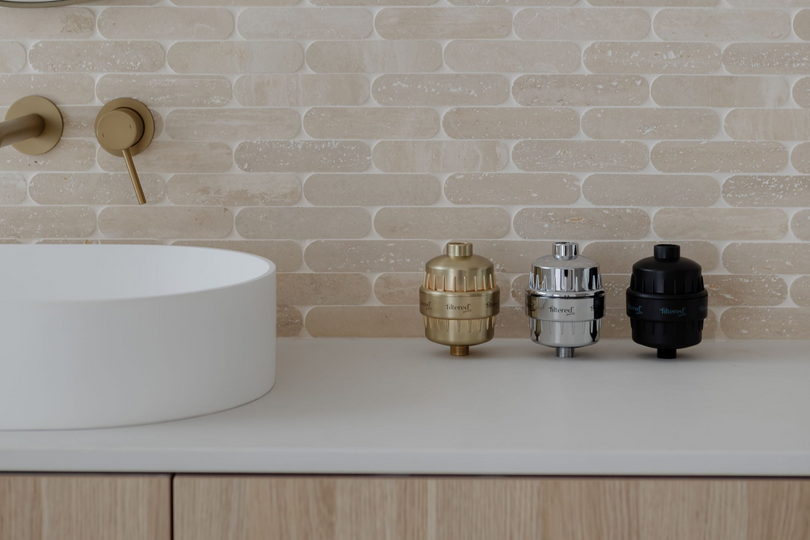
2 minute installation time! No plumber or tools required.
Step 1: Flush your Filtered Beauty Shower Purifier
Hold your Filtered Beauty™ Shower Purifier under a tap and turn the water on to flush out the extra carbon particles. This may turn your water black/grey in the beginning, but don’t worry, keep flushing until the water runs clear. Turn it over and follow the same directions for both sides.
Step 2: Remove your Existing Shower Head
Remove the existing shower head from the arm, by turning it counter clockwise. This is usually done by hand; however, you may need a wrench if your shower head is on too tight. Peel away any old tape and clean the threaded pipe.
Step 3: Apply Filtered Beauty Tape
Apply the included tape tightly around your Filtered Beauty™ Shower Purifier thread and the shower arm (approximately 3-5 times).
Step 4: Time to Install Your Filtered Beauty Shower Purifier
Install your Filtered Beauty™ Shower Purifier onto the shower arm by turning it clockwise (hand tight), then install your shower head, also turning it clockwise (hand tight). If additional tightening is required, use a soft cloth to protect the Filtered Beauty™ Shower Purifier, and tighten with a wrench.
Handy hint when you're installing, remember, "righty tighty" and "lefty loosey"! Always turn clockwise unless stated otherwise.
Enjoy your purest shower yet...
*Tools Optional: Wrench (not necessary)


